Showing posts with label MFT STAX. Show all posts

Saturday, January 30, 2016

Tic-TAc-Toe Challenge #2

Hello everyone,

UPDATE
I wanted to let you all know that I was spotted by MFT for this card March 1, 2016.  Eeeekkkk!!


I'm playing along with the second Tic-Tac-Toe Challenge and if you're not familiar with it, you choose any of the techniques listed below in the same order as you would win in the game Tic-Tac-Toe!  


I went with the Trees-Die Cuts - Critters for my card today and I started out with stamping the background polka dots with Jellybean ink and then cut out the panel from an MFT stitched rectangle stax die-namics die.  I then stamped, cut and coloured in the sheep and all the other elements with copics.  


I put my scene together and popped some things up on foam tape and others I glued to the panel to give them some dimension and interest.  

I added glitter to the ewe  and the flowers with my Wink of Stella glitter marker and I think I use that stuff on just about every card I make!


Once that was all adhered I then die cut the stitched speech bubble and used my MISTI to stamp out the sentiment.  I wanted to make sure I got it straight and entered.  After I did that I popped that up as well and added it to the panel.  

I cut out another panel from the Sunshine Layers dies from WPlus9 and adhered that straight to the card base and then adhered the front panel as well.  I thought the card needed something more and this gives it just enough interest as I wanted all the stamped images to be centre stage because they are so ADORABLE!


I've also added this card to the Simon Says Stamp Work it Wednesday - Anything Goes


 That's all for me, thanks for stopping by and I'll see you again soon!

Coralynn  :)


Saturday, December 26, 2015

Sweet Little Christmas!


Hello everyone,

I'm so excited to be back on the blog with Butterfly Reflections Ink.  

Today I have a sweet little card featuring MFT.  This cute little girl is so adorable I couldn't resist using her on this card.

I used Tumbled Glass distress ink for the sky and I used a glitter glue for the snowflakes. I used the LF stitched hillside borders dies to create the snow hills in the background and then stamped and cut out the trees for interest.  I cut out a frame using the MFT Stitched Mini scalloped square stax and popped that up on foam tape.  


I coloured in the little girl with copics and used the Wink of Stella to add some sparkle.  Cause no Christmas card is complete without some sparkles.  I then used the little banner from the MFT Winter Wonderland set and heat embossed a sentiment from the same set.


That's it for me today but don't forget to stop by the BRI shop cause there is a 25% off sale STORE WIDE!  But hurry, it's only on till Dec 31st!  It's a great time to use up some of that Christmas money!  ;)


Thanks for stopping by, have a very Merry Christmas!


Thursday, November 5, 2015

Holiday Card Series - Day 2


Hello,  

Welcome to Day 2 of my Holiday Card Series.


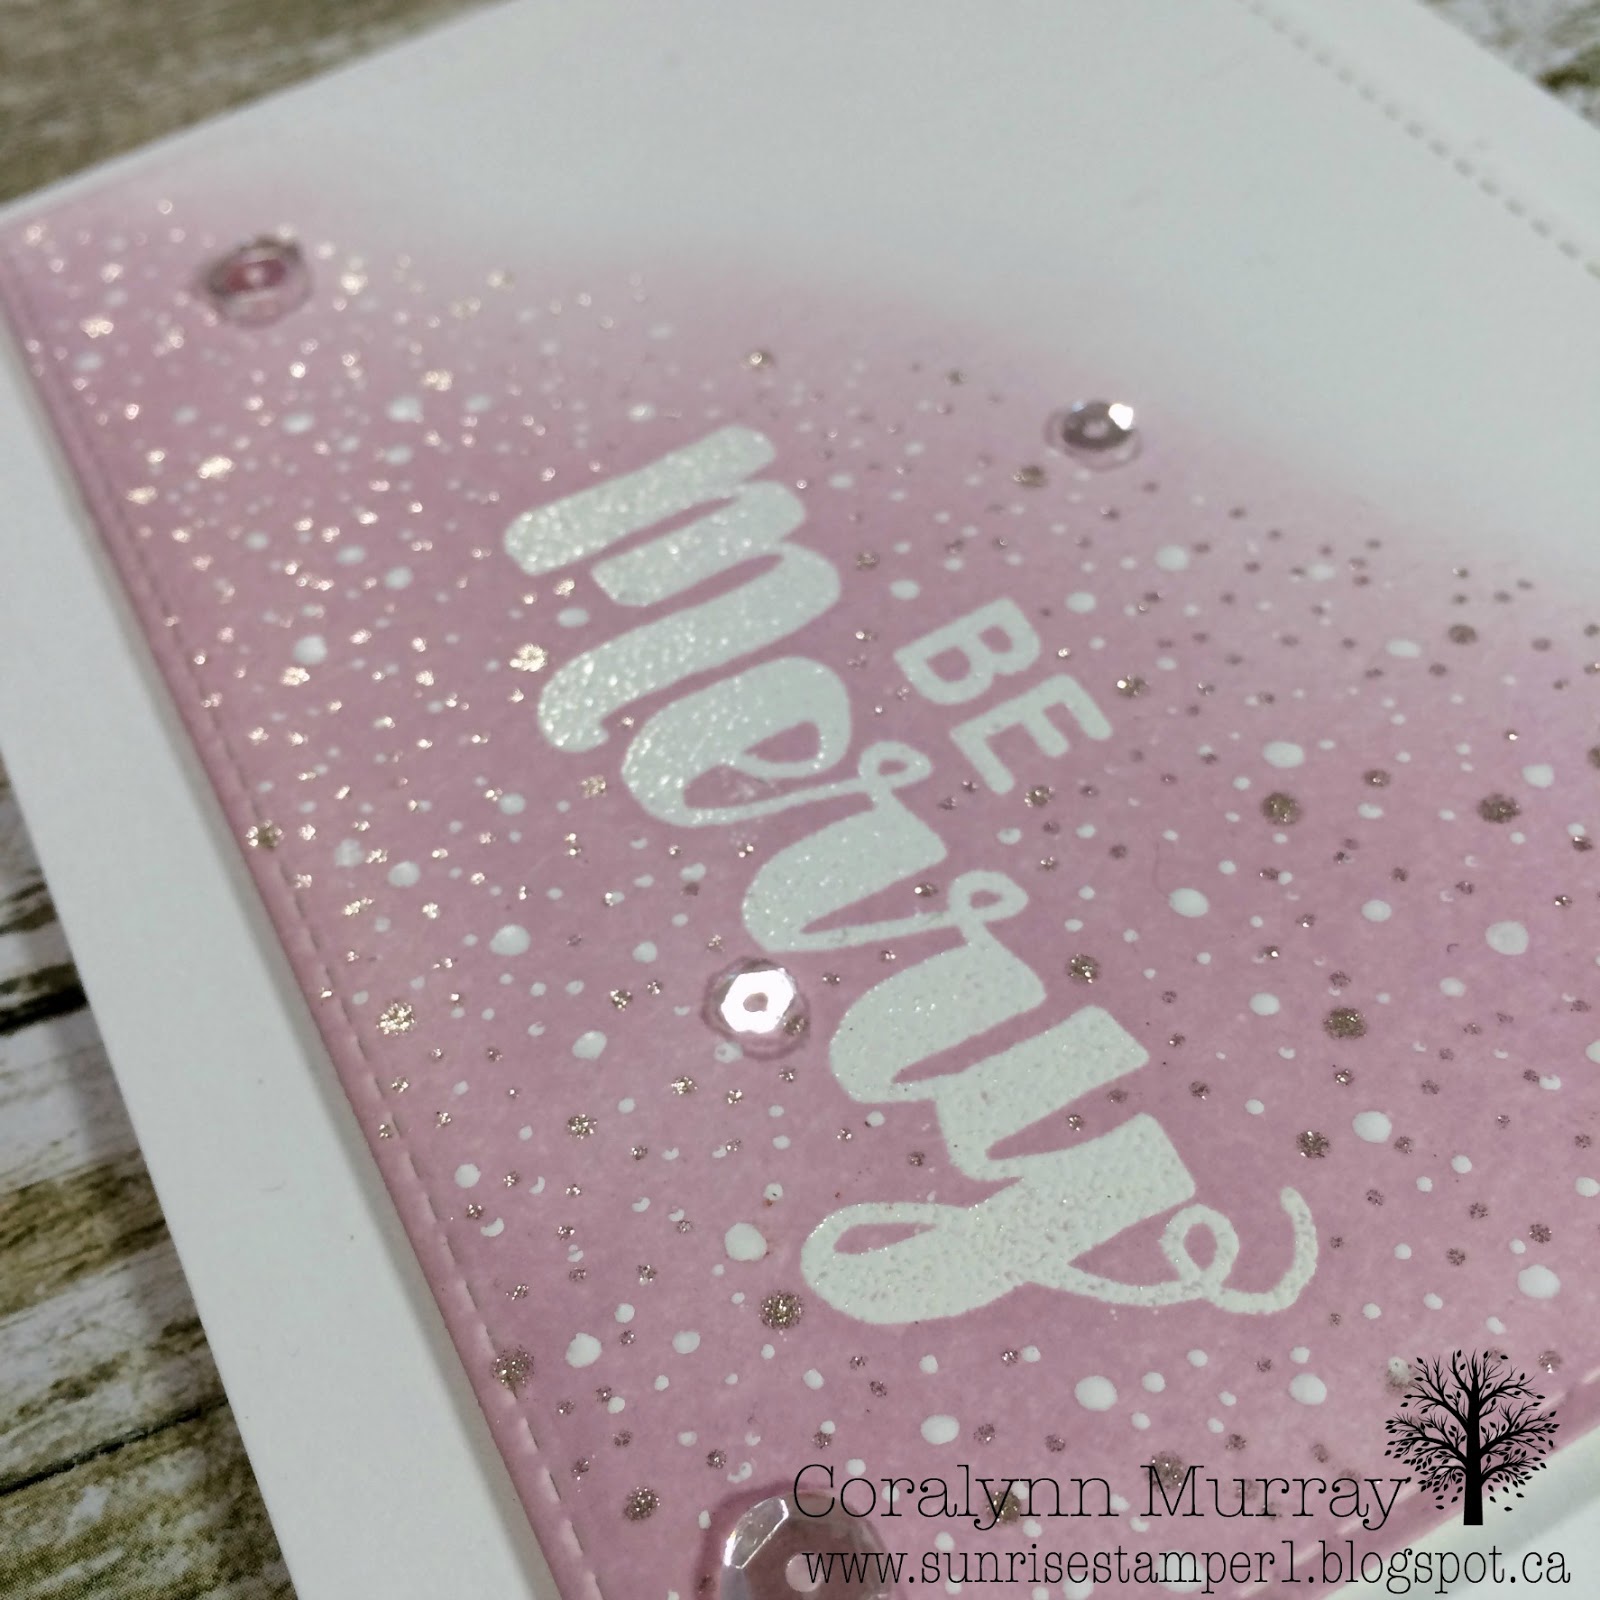
I love the bold sentiments of the Joyous Christmas Sentiment set from MFT and I wanted it to be the main focus of my card.  I die cut the front panel and popped it up on foam tape then I stamped the sentiment in Versamark (which is a clear sticky ink that allows you to apply embossing powders) and heat embossed in white.  


I applied the distress ink to make it look like a snow hill and by added in the white and glitter dots, it makes it look like snowfall.  To finish off the card I added some sparkling clear sequins in 4mm and 6mm. 


Thanks for stopping by, see you again soon for Day 3!

Coralynn  :)


Supplies:


Saturday, October 24, 2015

AAA Cards - Halloween for Everybody! Game 51

Hello everyone!!

Welcome to game #51 - Halloween for everyone!


As much as I love Halloween, I don't seam to create many Halloween cards, but I went through my stash and thought I would get creative.

I took the racoon from the Critters in the woods set and I took the bat wings from Monster Mash set and did some creative masking.  Then I added a mouth and fangs to the little guy so he would look more like a bat.  I then fussy cut him out and Voila!  You have a Bat-coon!


I stamped both backgrounds in Fog ink.  I die cut the front panel with a stitched rectangle die as well as a circle die at the same time so I could save a bit of time.  I found a piece of patterned paper from my stash and used it for the background of the Bat-coon.  I then popped it all up on foam tape to the card base.  I heat embossed the Happy Halloween sentiment with a platinum embossing powder on a banner die cut.   To finish off the card I used clear droplets and coloured them with my copics so they would match the card and added some clear sequins.


Thanks for playing along with us, I can't wait to see what you all create!


Coralynn  :)