Sunday, November 20, 2016

AAA Cards Game #78 - Circles

Hello everyone!

We are back with Game #78 with AAA Cards.

I always need birthday cards and today I needed one in a flash.  These would be great to mass produce as they are fun and fast to make.

Sometimes when my crafty mojo has taken the day off I cut up my card stock and make card bases and panels.  I find this relaxing and it gets me organized so that I have these ready when my mojo comes back.

I started with a pre-scored A2 sized card base and took a circle die and left one small part of the die just off the top of the card so that it keeps both pieces in tact.


I then took another size of the circle dies and cut out this fun patterned paper I received in a card kit a few months back. It's soft and subtle enough that this would make a great tag for a give or even a nice masculine card.  I used it because of the circles.  ;). I then took a Happy Birthday die from MFT and cut it out of black card stock and adhered it to the patterned paper and then I adhered the paper to the card base.  I didn't feel the card needed any embellishments so I called my card done.  


We would love for you to join us for our challenge so head on over to the link on our blog post.  We love seeing all the cards you create.  Please remember to keep those cards Clean and Simple!


Our amazing sponsor for this challenge is Stampendous. You can check out their
www.stampendous.com


Here are our guest designers for this challenge and they would love if you headed over to their blog to show them some crafty love. 
 Jessica V Lin from Jessie Handmade 


Thanks for stopping by, see you again soon.

Coralynn  :)

Supplies:


Wednesday, November 16, 2016

Happy Birthday

Hello everyone,

I'm back with a birthday card for you today.

The MOS stamp sets I used for today's card are Happy Moments and Love for Mom.  

I stamped the flower on white 110# card stock with intense black ink and coloured them in with my copics.  I fussy cut it out with my scissors and went along the edges with a black Memento marker to clean up the image. 


I created the background with a candy striped background stamp and used grey and purple inks.  I used a rectangle die to cut out the plaid panel along with a piece of vellum.  

I stamped the sentiment on the vellum with Versafine Onyx black ink and heat embossed with the Wow black embossing powder.  I added the flower with the foam tape to the vellum and I adhered the vellum panel to the plaid panel with liquid adhesive.  


I coloured the scalloped frame with the same purples as the flower so they would match and added it to the rest of the panel. I then adhered everything to the card base and added a few finishing touches with enamel dots and a lot of sparkle pen to the flower.


Thanks for stopping by, see you again soon!

Stay crafty  :)
Coralynn


Saturday, November 12, 2016

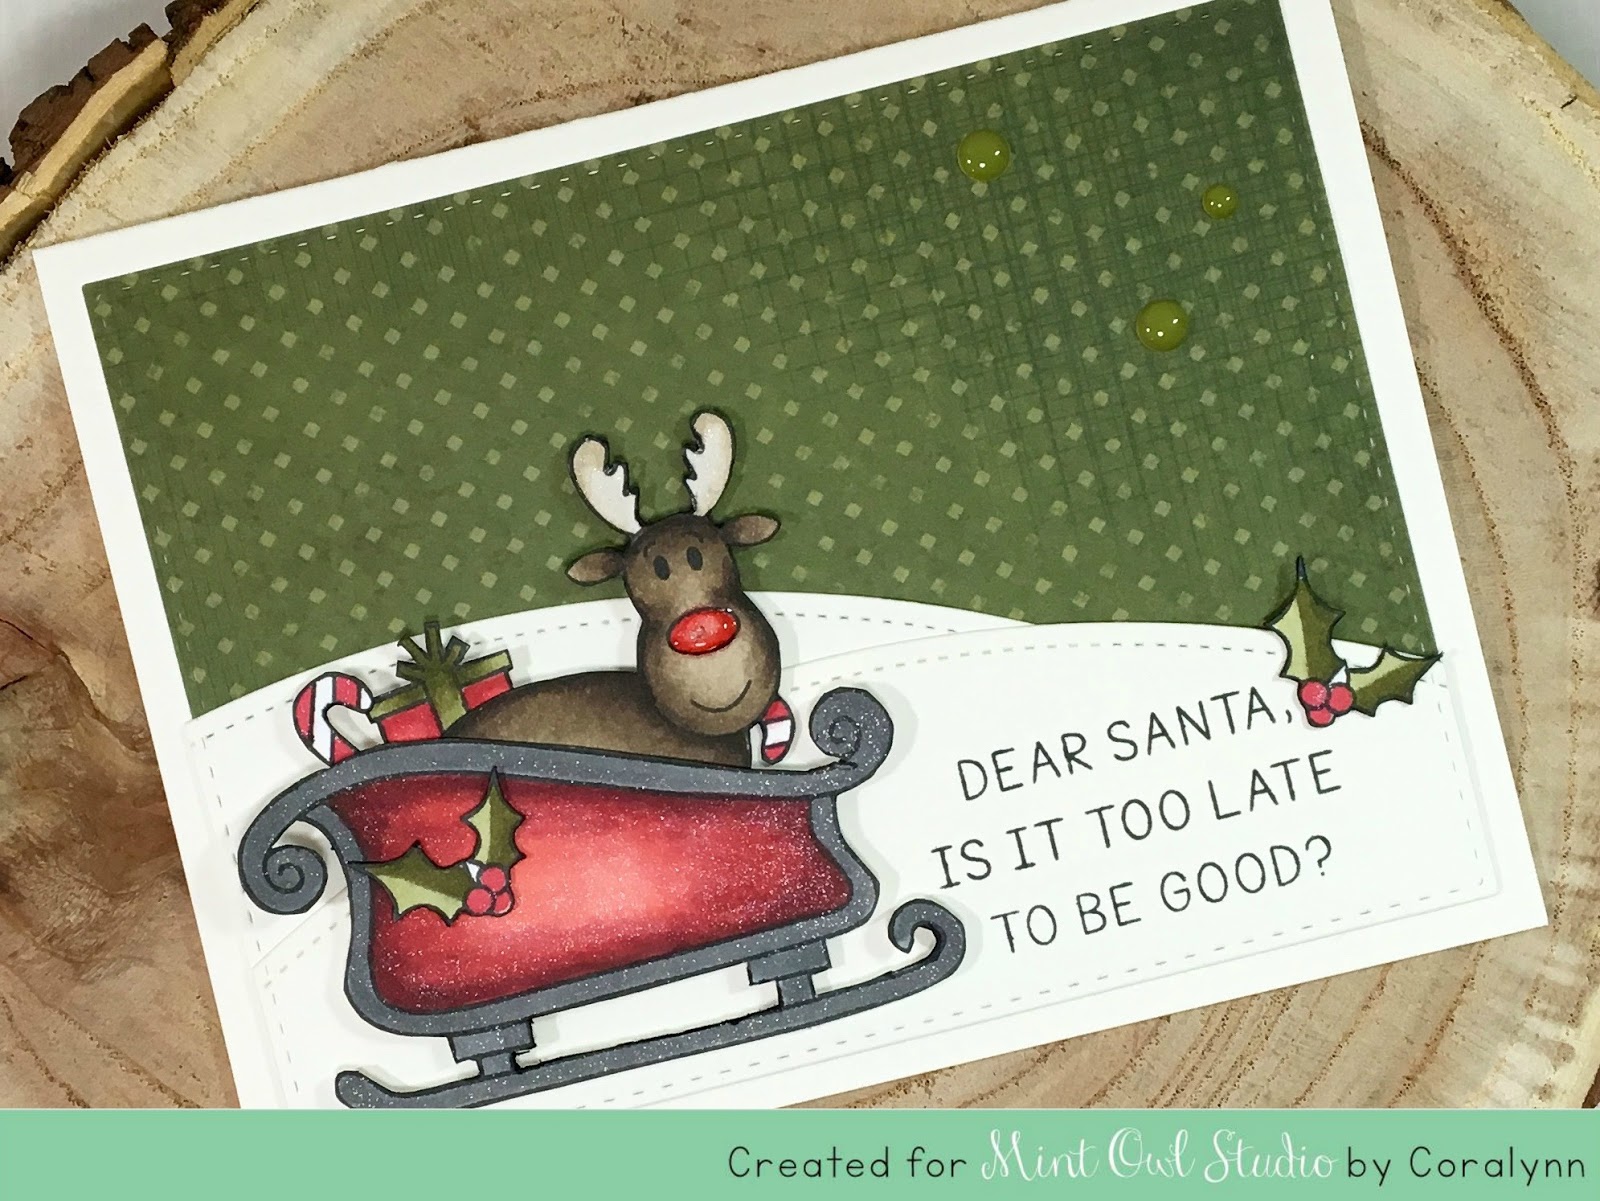
Dear Santa, is it too late?

Hi everyone,

I'm back with a Christmas card for you today and I chuckle every time I see this sentiment so I thought I would add it to my card. 


I cut a piece of patterned paper and cut it out with a stitched rectangle die and cut out a couple of snow drifts with some stitched hills die and cut them out of white card stock.  I added the sentiment to one of the hills and added them everything to the card base with liquid glue and foam tape.


I used the rein deer, sleigh,candy cane, present and the holy from the Dear Santa set and coloured them in with my copics and added some glitter to the sleigh.  You can't have a Christmas card without some glitter. I then added three enamel dots to finish off the card.


Thanks so much for stopping by, see you again soon!

Coralynn :)

Sunday, November 6, 2016

AAA Cards - Game #77 - Thanks/Thankful

Hi everyone,


Picture

$20 Gift Certificate


I started out by stamping out small images all over a piece of dark brown card stock with versamark ink  then heat embossed it with gold embossing powder.  I added it to the bottom portion of an A2 sized ivory card base. 


I then took a scalloped border die and the Thankful die and cut them out from the same ivory card stock as the card base and popped it up with foam tape.  I added the thankful die cut to the embossed panel with liquid glue and added some gold sequins to finish off the card.  


We hope you'll join us for this challenge.  Be sure to head over to the blog and see all the wonderful cards the DT has created.

Thanks for stopping by, see you again soon.

Coralynn  :)

Supplies: SSS September card kit is sold out. - sorry!

Saturday, November 5, 2016

Mint Owl Studio - Happy Birthday


Hello everyone,

I'm here today with a birthday day card.  I think this iced coffee from the Coffee Craze stamp and die set is the one image that I just can't stop using.  You can colour these in so many ways and it's just too much fun.

I started out with a piece of watercolour paper and I die cut it with a stitched background die and with Picked Raspberry and Aged Mahogany distress inks I blended them on the paper in a gradient.  I then took a scalloped rectangle die and cut out the panel.  


I stamped out the iced coffee cup and coloured it in with my copics and the added glossy accents.  I then stamped the sentiment with Versafine Onyx black ink to the ink blended panel and adhered it to the card base. I took the iced coffee and popped it on of foam tape and added to the card base.  


Thanks so much for stopping by, see you again soon.

Coralynn  :)


Tuesday, November 1, 2016

YouTube - 200 Subscriber Giveaway!

Hello everyone,

I am a bit late with this post but I have surpassed my goal of 200 YouTube subscribers!  All thanks to you out there for subscribing. 

To say Thank You, I'm having a little giveaway. 
All you need to do is be a subscriber and leave a comment on this blog post letting me know that you are a subscriber and I will pick a winner from the list of comments. 


You're more than welcome to leave me a comment over on YT but only the comments left here on this post will be eligible for the prize.

This is open to everyone! 

Giveaway is open till November 5, 2016 11:59 EDST, and I will announce the winner November 6, 2016.


Good Luck everyone!
Thanks for stopping by.

Coralynn  :)


Thankful

Hello everyone,

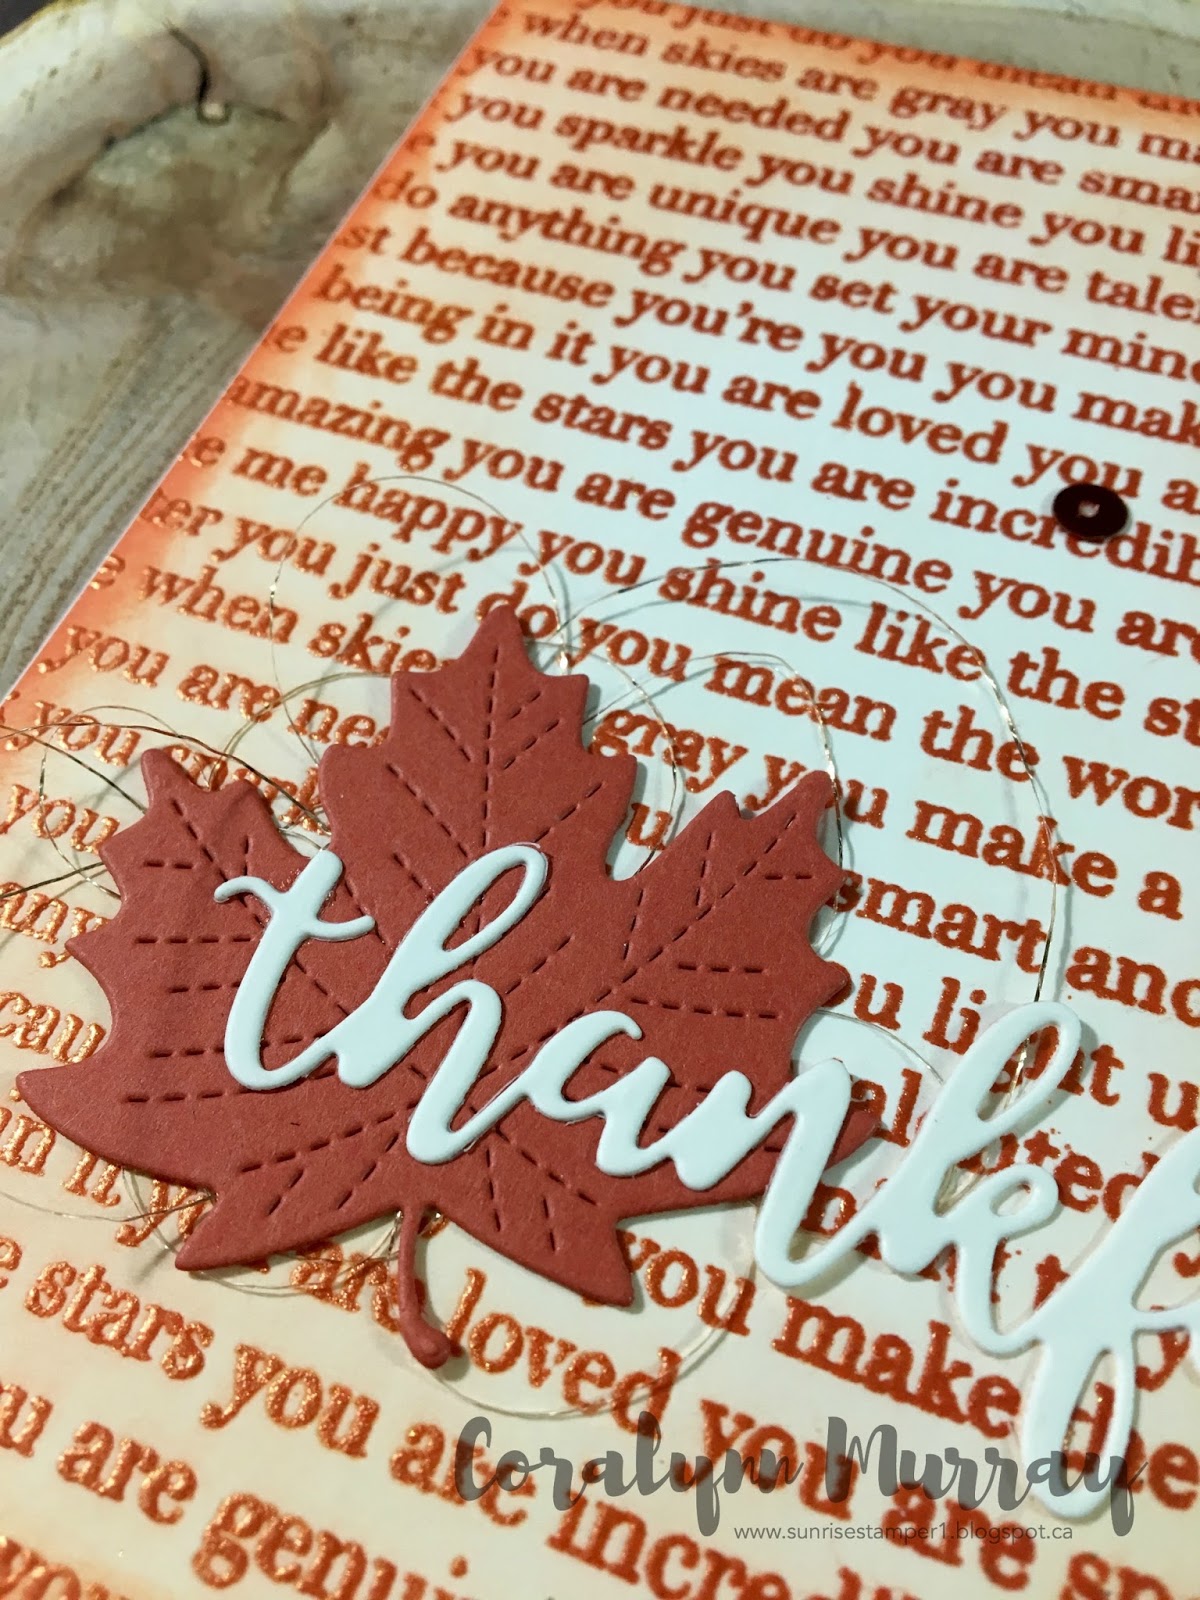
I'm here with another fall card for you and I'm joining in with the Simon Says Stamp Wednesday challenge, anything goes.

I have to admit that this panel was on my desk for a couple of weeks as I wasn't really sure what I wanted to do with it.  But I had a few die cuts sitting in a dish and for some reason it just hit me with what I was going to do.

So for my card I used the You Matter background stamp and stamped it with Versamark and heat embossed it with pearl embossing power in an orange colour.  I then took some Ripe Persimmon distress ink and inked up the sides and a little towards the middle.


I had some metallic thread that I got from my local dollar store and added it to the back of the leave with a glue dot.  The more I was trying to get it to adhered to the leaf the more I realized that it was not really thread but more like tinsel.  It is very fine and adds just a right amount of interest to the card.  I then added the leaf to the panel.  


I used the Thankful die from SSS and cut it out of ivory card stock and added it to the card with some  liquid glue.  To finish off the card I used some sequins from Lucy's Little Things in Fallen Leaves colour and called it done.


I'm here with another fall card for you and I'm joining in with the Simon Says Stamp Wednesday challenge, anything goes.


Thanks so much for stopping by, see you again soon.

Coralynn  :)

Monday, October 31, 2016

You're Not Alone

Hello everyone,

I used the Altenew stamp set A Beautiful Day as well as their Sea Glass ink. I masked off the edges of an A2 sized card base with post-it note tape. I then took the smaller flower stamps in the set, the more dainty ones and stamped them with the Sea Glass ink.


Once I had filled in the area as much as I could, I removed the tape slowly so that I didn't tare the paper. I then stamped the sentiment with black ink overtop of the images. To finish off the card I added some dots that I made with the Nuvo Crystal Drops.  


I'm participating in the CAS Colours & Sketches Challenge and this week is a sketch.


Thanks so much for stopping by, see you again soon.

Coralynn  :)

Supplies:


Sunday, October 30, 2016

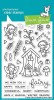
Fairy Christmas

Hello everyone,

I'm so excited to be here this month with you all.   I thought I would start on my Christmas cards a bit early this year.  Mind you, this doesn't mean that I will get them all done in time but at least I'm trying.

I have been loving interactive cards lately and I have to admit that I did have a hard time at first with these.  Just trying to figure out the logistics of each card and what I want it to sure makes my brain work but it's so much fun!

I coloured in the sweet little fairy with my copics and set her aside.  I coloured the background with distress ink (peacock feathers & seedless preserve) and die cut the panel with the largest LF stitched rectangle die.  I took the slide on over dies and found the one that matches the town boarder and die cut that as well.  I then added two layers of fun foam to the back making sure to leave enough room for my penny to slide back and forth.


A helpful tip is to make sure you add in the penny BEFORE adhering the panel.  I was able to add it in but it wasn't fun.  I then added the fairy to my penny so she can fly over the town waving her wand.

I die cut the clouds and town border from white card stock and also used the rectangle die so the stitching will be all around.  I heat embossed the sentiment with sparkly black embossing power to the Little Town border panel and then adhered the clouds and little town to the card base and added some stickles to the edges.

I know this is a long post and I'm happy that you stuck around.  

Thanks for stopping by!

Coralynn