Showing posts with label A Blog Named Hero. Show all posts

Monday, December 18, 2017

A Blog Named Hero - Mid-month Inspiration


Hello everyone,

I'm back with our mid-month inspiration with A Blog Named Hero and Simon Says Stamp.

It's a bitter sweet post for me as this is the last for the 2017 term.  Be sure to head over to our blog for the design team post for all the details.

Now, for my card I used the Felicity Snowflake die again because it's awesome.  I used the Simon Says Stamp glitter paper and adhered it to an A2 size card base.


I then stamped and heat embossed the sentiment with white embossing powder on to black card stock. I then cut it out with my trimmer and adhered it with foam tape to the card. And that is my card.


Please help support A Blog Named Hero by shopping through our links. These are affiliate links, at no additional cost to you. We appreciate your support.


Monday, November 20, 2017

A Blog Named Hero - Mid month inspiration

 Hello everyone

We are halfway through our Copy a Designer challenge with Neat & Tangled over on A Blog Named Hero.

I copied Jessica's card from her July 19 post and you can see it here.

I too a piece of bristol cardstock and stamped the images from the Get Yeti stamp set and heat set it with white embossing powder.  Then I coloured in the images with my zig clean colour brush markers.

I cut out the panel with the Hero Arts postage stamp nesting die set and added some white spots with a gel pen and added a few black gems. I stamped the sentiment with white embossing powder and cut in the flag ends and popped it up with foam tape.  


I then took some white fun foam and added it to a blue piece of cardstock and then added it to an A2 sized card base and this card is done.  


I hope you'll join us for our challenge!  We love seeing what you created!

Please help support A Blog Named Hero by shopping through our links. These are affiliate links,
at no additional cost to you. We appreciate your support.
Hero Arts


Thanks for stopping by, see you again soon!


Monday, September 18, 2017

A Blog Named Hero - Mid month inspiration

Hello everyone,

It's halfway through our A Blog Named Hero collaboration challenge with CAS-usal Fridays and Hero Arts.  I know I say this every time but it's hard to believe how fast the month has gone.


For my card, I decided to watercolour.  I took a 3/4 inch brush and some watercolour paint and painted stripes vertically across the card base.  I only used one colour to do this. I let the first set of stripes dry a bit before going over them again and only did every second one to give it a two-tone look.
I stamped the Full on Floral set from CAS-ual Fridays and heat embossed it with Hero Arts white embossing powder. I also did the same for the sentiment from the It's Your Day stamp set also from Hero Arts.


Thanks for stopping by!  I how you'll head over to the blog and see all the amazing cards from the team and link up your own cards.  We love seeing what you create!  Don't forget to use our hashtag #ablognamedhero so we can see you on social media. 


Please help support A Blog Named Hero by shopping through our links. These are affiliate links, at no additional cost to you. We appreciate your support.


SaveSave

Monday, August 21, 2017

A Blog Named Hero Mid-month Inspiration

Hello everyone,

I'm here with A Blog Named Hero and our mid-month inspiration for our current challenge with Wow Embossing Power.

I started with the Abstract Waves Stencil and added Versamark ink to it and the pressed it onto some white card stock.  I then sprinkled the Wow bonding powder and heat set it till it was shiny. While it was still hot I pressed the foil onto the panel and burnished it with my bone folder then pulled away the foil. 


I took the Hello die from the Hello Stamp and Cut set and die cut two of them.  With one I added the foil like the other panel and with the other die, I cut it out of black card stock and heat embossed it with Hero Arts clear embossing powder to give it some dimension.  For the rest of the sentiment, I used Hero Arts white embossing powder and heat set it onto black card stock. 


I took the foiled panel and cut it into strips and added foam tape and added them to a pink piece of card stock. I then took the embossed sentiment to the strips with my tape runner and then added the hello die cut.  Once that was all done I adhered the entire panel to the card base and called it done. 


We hope you get inspired and don't forget to head on over to the blog post to add your projects to our link up. 


Please help support A Blog Named Hero by shopping through our links. These are affiliate links, at no additional cost to you. We appreciate your support.


Monday, July 17, 2017

A Blog Named Hero Mid-month Inspiration

Hello everyone,

I'm back to share my card for our mid-month inspiration over at A Blog Named Hero. We are so excited to be working with Winnie & Walter this month to create projects with Hero Arts as I'm sure you are all aware that they have some fantastic products.  

This sequin pack came with my order and they are so pretty and with this stamp set I knew this is what I wanted to do.  

I stamped and heat embossed the image on to vellum.  Then I started making my shaker by cutting out the centre with a rectangle die and then adhered the heat embossed vellum to create the window.  I then added foam tape around the edge to create the well to put the sequins. 

I then added the shaker front to an A2 card base and then cut out the Contrast die from royal blue card stock out of my stash and adhered it to the front and called this card done.  I almost added some sequins or gems to it but I thought that it was perfect just the way it was.  


Thanks for joining us for our collaboration challenge with Winnie & Walter.  

Please help support A Blog Named Hero by shopping through our links. These are affiliate links, at no additional cost to you. We appreciate your support.

Monday, June 19, 2017

A Blog Named Hero - Chibitronics Interactive Challenge Mid-Month Inspiration

Hello everyone,

We are already half way through the month of June with our Chibitronics Challenge at A Blog Named Hero!  It's hard to believe that my summer is finally here!

We are so excited for this months collaboration, mind you I say that every month.  And we are excited for everyone we do and this one is no exception. The more I work with these LED lights the more I fall in love with them. 

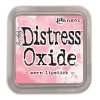
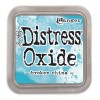
I used the Oxide distress inks in Worn Lipstick and Broken China to give it a Northern Lights type of feel to the watercolour.  I added some water splashes to the panel and wiped them up with paper towel. I then used the Hero Arts Star Confetti die and the Tim Holtz diffuser to only cut out the centre circle. 


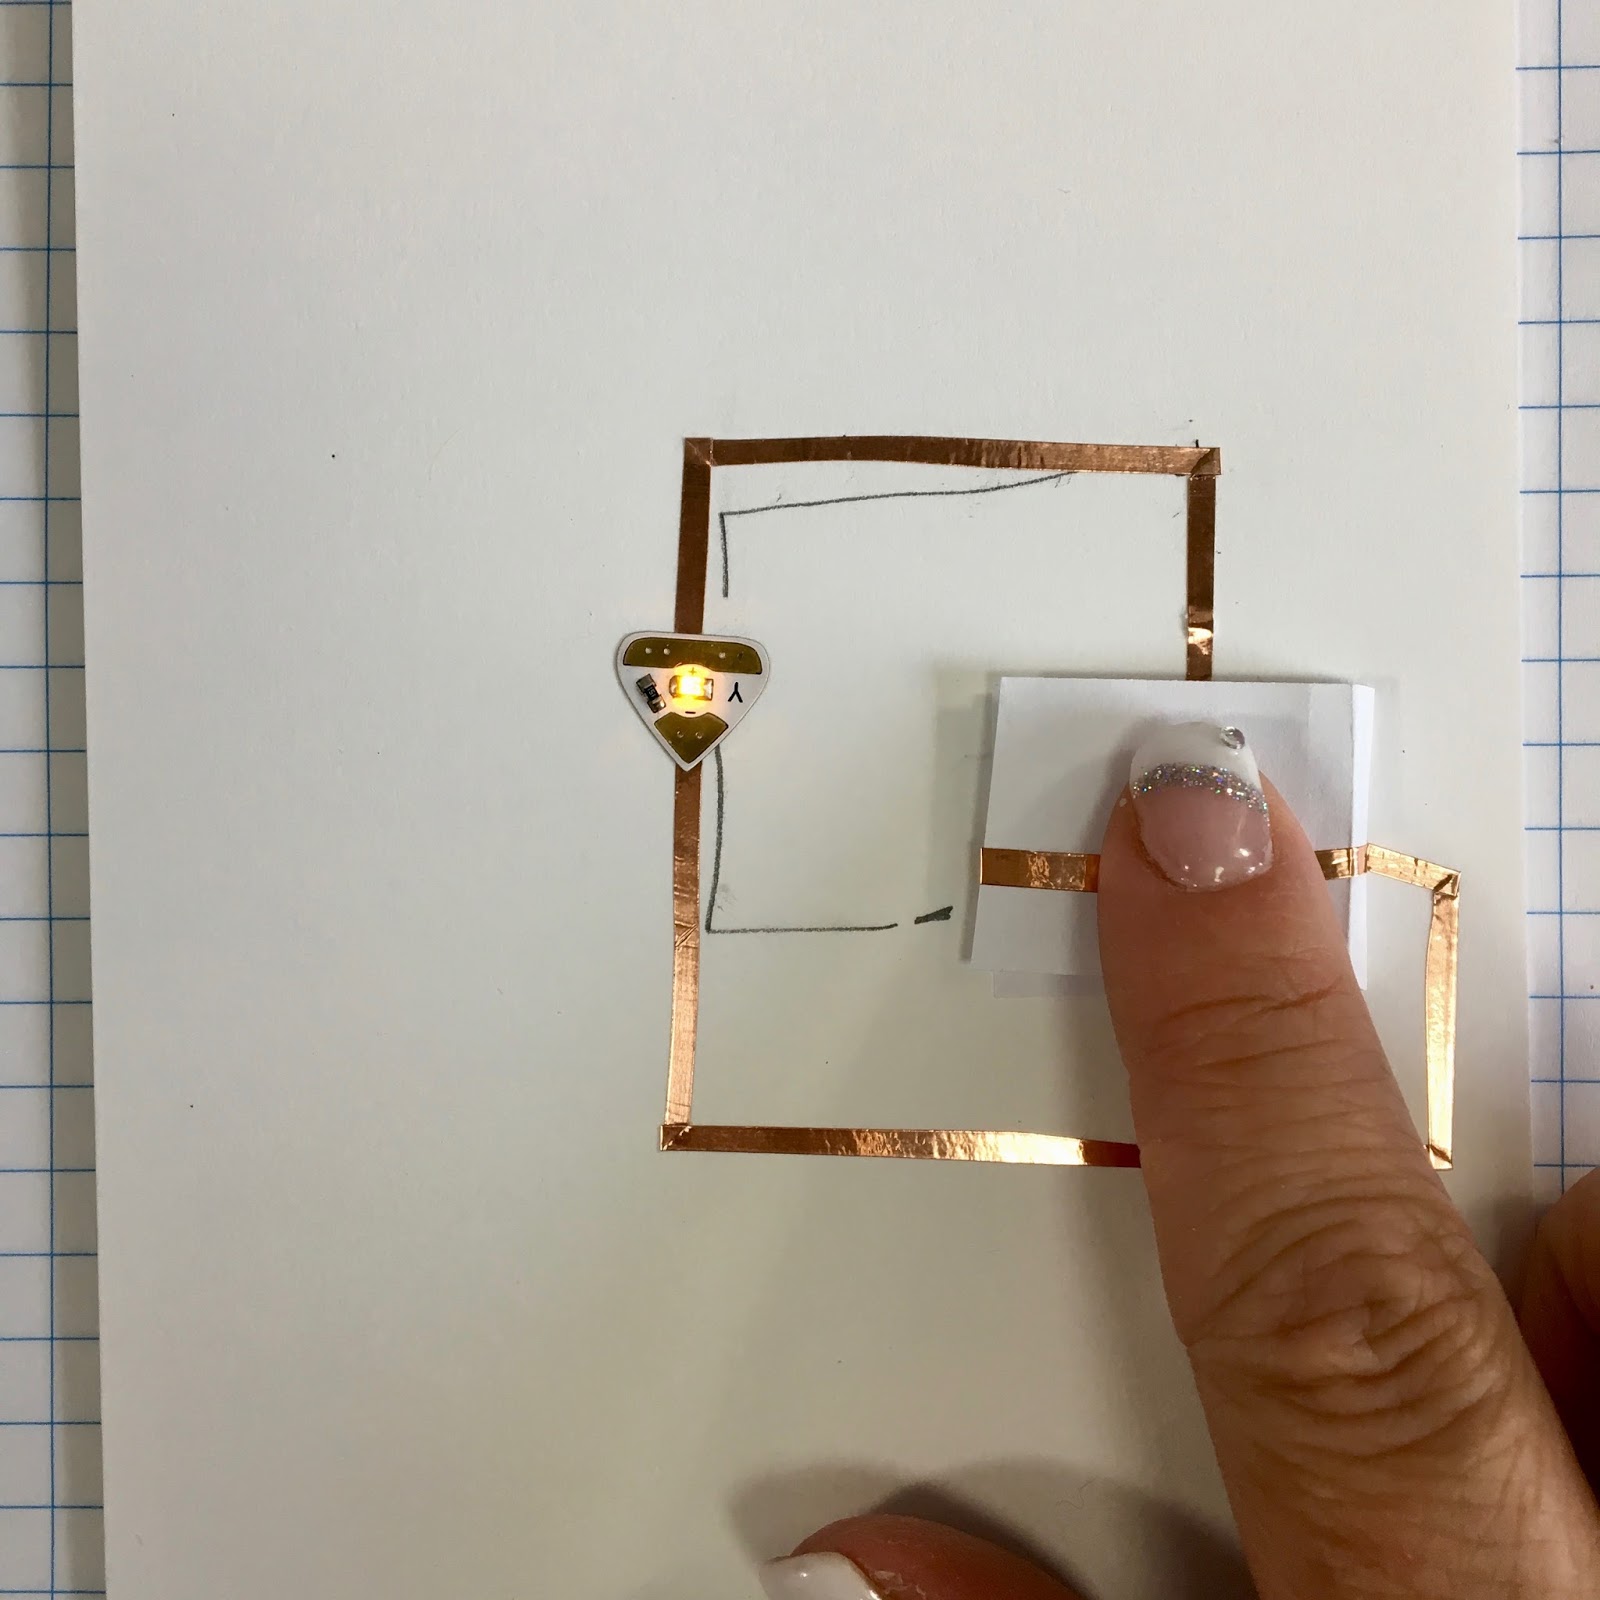
This is how I built the light up card.  


Then I added the front panel to the base and when you press on the "S!" I took a piece of velum from my stash and added the die cut sentiment to it and added some perfect pearls water that I have mixed up on my desk.  Since I had all the lovely little stars cut out from the centre I didn't want to waste them so I added some to the front panel as well as the inside of the card.


I normally don't add anything to the inside so I did end up forgetting to take a picture of the inside of the card.  So sorry!


Thanks so much for stopping by, see you again soon!


Monday, May 15, 2017

A Blog Named Hero Monthly Challenge


Hello everyone,

We are here already half way through our challenge with some mid month inspiration over on the A Blog Named Hero blog .  I hope every one had a wonderful Mother's day and got spoiled.

I just love Honey Bee Stamps and Melissa and her group is just so sweet.  
We are watercolouring for this challenge and this is one of my favourite techniques but sometimes it's the one that gives me the most trouble.  I sometimes want the colour to go a certain way but as you all know, that's just not the case with watercolouring.  Oh well, I still love it. 
Now on with my card.

I started with the Hero Arts Stamp and die set Dress Up.  This is a small but amazing little set.  I stamped all the images in Versafine and embossed it with clear embossing powder.  Can you guess how I did her dress?  I'll tell you a little later in my post. 


I used my Zig Clear Clean brush markers to colour in the images and then I cut her out with an oval nesting die.  I used foam tape to pop it up on to an A2 sized light rose card base.  I then stamped the sentiment from the Honey Bee Stamps Celebration Box stamp set with Hero Arts black dye ink. 


So now that you know which stamps sets I used, can you figure out how I made her skirt?
I used the tissue paper and turned it upside down and took away a couple of the middle tips and Ta Da!  You have a frilly skirt!


We would love if you would join us and play along with our challenge.  We love seeing all the wonderful projects you create.  


Thanks for stopping by, see you again soon.